To add a receipt to your Caary account using email:
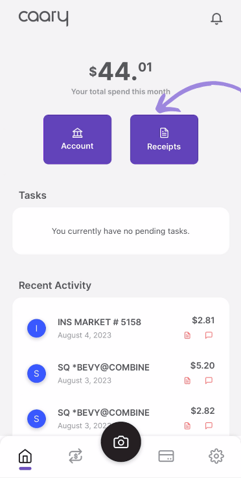
- Log into your Caary mobile app and select the Receipts icon from the homepage.
-
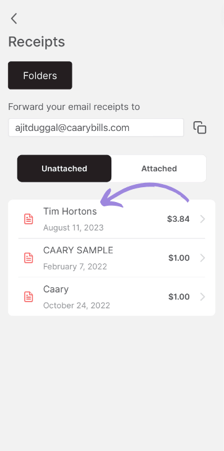
At the top of the Receipts dashboard, you'll see your receipt email address (e.g., name@caarybills.com) – this is where you'll send receipts to add them to your Caary account.

-
Log into your email inbox. There are two ways to send receipts:
If the receipt is embedded in an email (pictured below): Open the email and forward it to your receipt email address.
If you have a physical receipt: Create a new email and attach a photo of the receipt. Make sure the photo is legible and in jpg, jpeg or png format. You can leave the email body and subject blank. Send the email to your receipt email address.
NOTE: Make sure there are no GIFs or unusual fonts/images in the email body or signature. We suggest deleting your email signature before sending the email.
-png.png?width=215&height=465&name=MicrosoftTeams-image%20(89)-png.png)
- Open the Receipts dashboard from the homepage in your Caary mobile app. The receipt should appear in your list of unattached receipts.
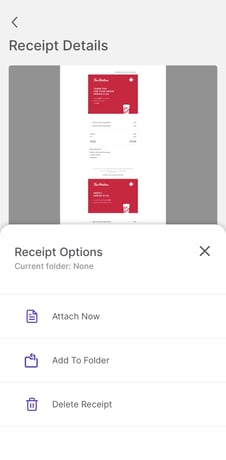
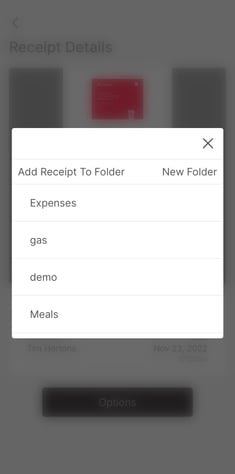
- Click the receipt to view your photo and the receipt details. Click Options to either add the receipt to a folder (go to step 6) or attach the receipt to a transaction (go to step 7).
- Select the folder to which you'd like to add the receipt. You also have the option to create a new folder.
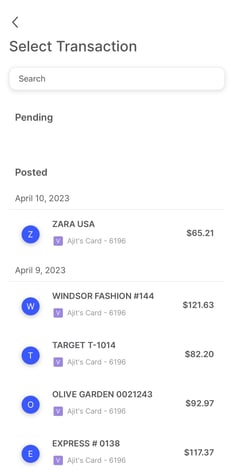
- You'll see a list of recent transactions without an attached receipt. Select the transaction to which you'd like to attach the receipt. And you're done!